An ePortfolio Area allows you to create private spaces for students to create ePortfolios in the website.
Feedback from our users prompted us to develop this module for Spike@School. An ePortfolio is essentially a screen where many of our popular modules can be combined to communicate a message and keep track of learning.
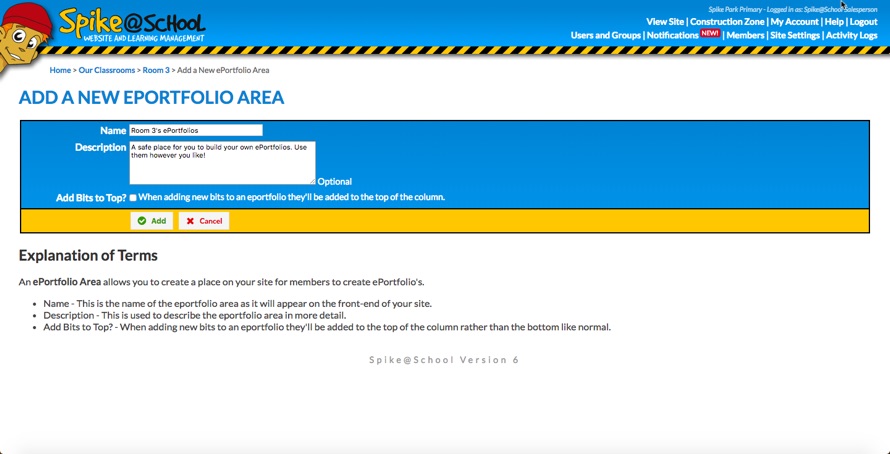
Let's choose ePortfolio Area from the ‘Add a New’ menu in the Construction Zone. You'll get this screen:
What's in an ePortfolio?
Students can create as many ePortfolios as they like and arrange them in Containers. Currently students can add multiple instances of the following modules into their ePortfolios: Blogs, Calendars, Comment Areas, Embedded Items, File Sets, Image Galleries, Link Sets, Pages, and Quiz Sets.
You can learn more about these modules by visiting their links. They work the same as they do in the Construction Zone but everything is kept private inside the ePortfolio where (by default) only the student has access to them. We'll talk more about security in a moment. By the way, ePortfolios aren't just for kids, there's no reason why staff couldn't have an area for themselves so that they can make ePortfolios too!

Creating new Areas
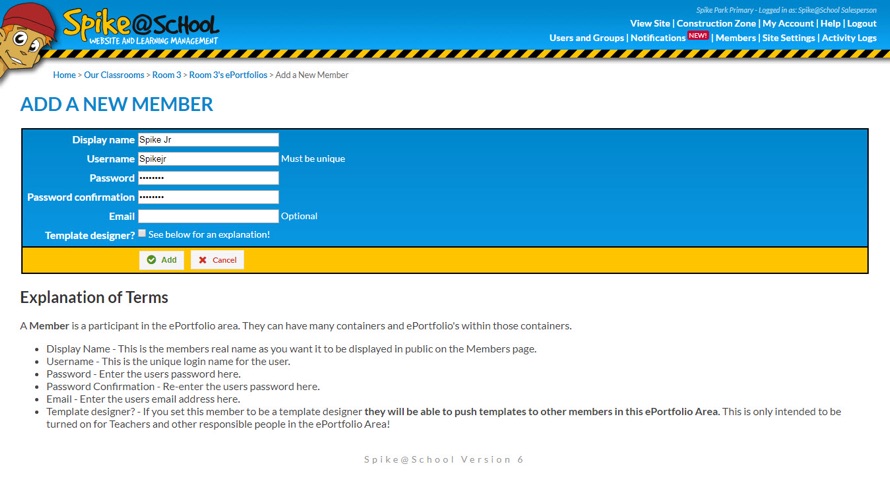
It's incredibly quick and simple to create an ePortfolio Area for your students to log into and work in. Once you've created your ePortfolio Area you can click on it to start adding Members. As you can see, all we need to know about each Member is their name (you don't have to use their full name) and their Password. You set the Password for them. This makes it easier to keep track of things and you can remind the student of their Password later on if they forget it. You can also easily change it in the Construction Zone.
If this all sounds a bit laborious, we also allow you to upload a CSV (Comma Separated Value) file exported from a spreadsheet with the Names and Passwords of all the Members that you want to add.
Accessing your ePortfolio
Let's pretend we're a student from now on and see what it's like to work on an ePortfolio. Now, if you're following along with this walkthrough be sure to log out of the Construction Zone first, otherwise you won't be asked for a Password as all Construction Zone users that have edit access to an ePortfolio Area have access to all of the Members and their content without a Password. This is useful for teachers as it allows them to easily review the student content and make changes where they see fit.
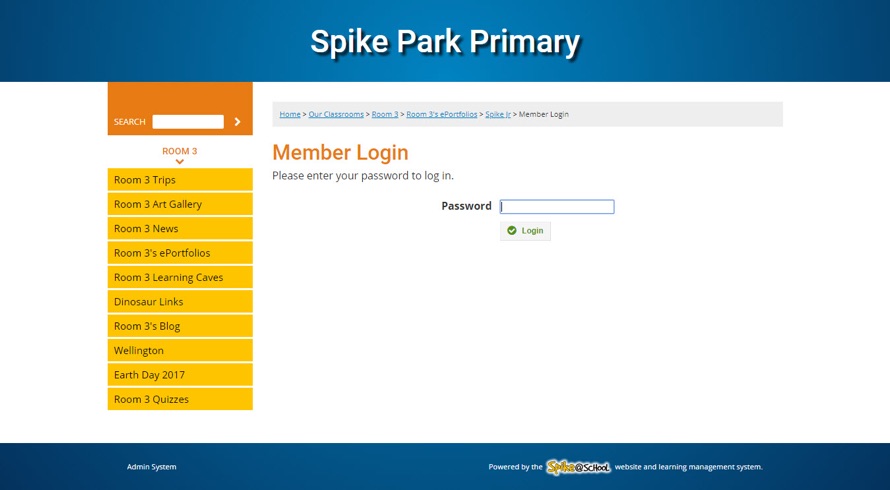
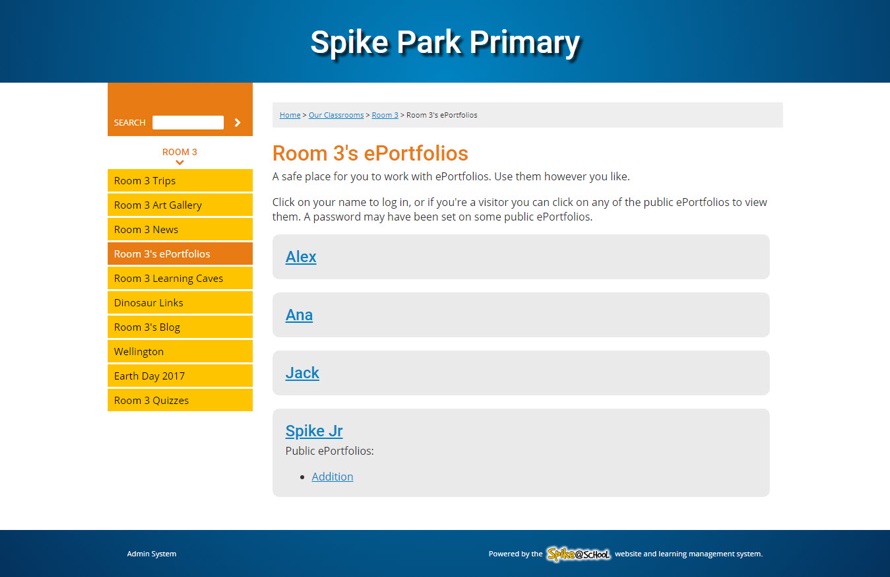
To access their ePortfolio Area a student needs to visit the school website and click on the ePortfolio Area in the index bar. They'll then see this page where all of the student's names are listed. To access their ePortfolio Area they just need to click on their name.

They'll be presented with a login screen. The student needs to type in the Password that you assigned them before.
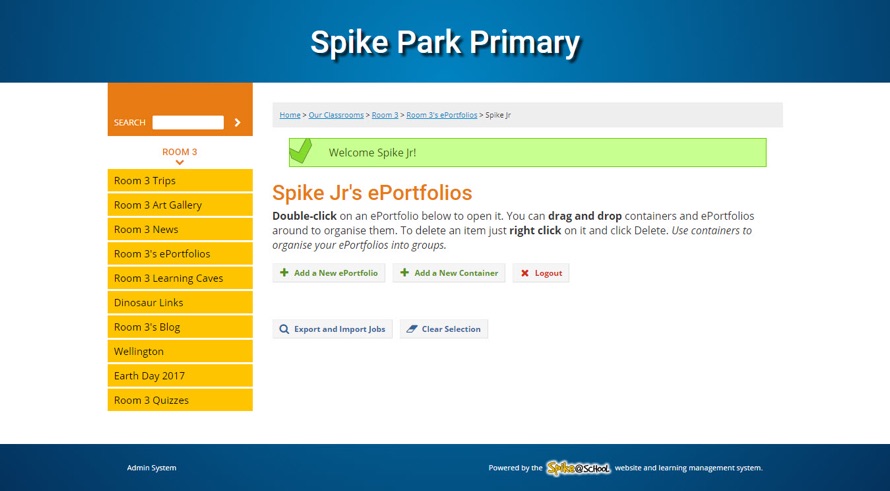
Once logged in, the student will be presented with this screen. As you can see, the Area is empty at the moment. From this screen the student can create ePortfolios and Containers to store them in.
Setting up your ePortfolio
Let's set up some Containers. Containers are neat because you can nest them. They work just like folders on your computer, with ePortfolios sitting within Containers. You can also reorganise the Containers and ePortfolios by dragging and dropping them. To rename a Container or ePortfolio you just right-click on it and select ‘Rename’. Simple!
I'm going to add a few Containers and an ePortfolio so you can see what it looks like. The Containers and ePortfolios are laid out in a tree structure. This makes it easy for the student to organise their ePortfolios.
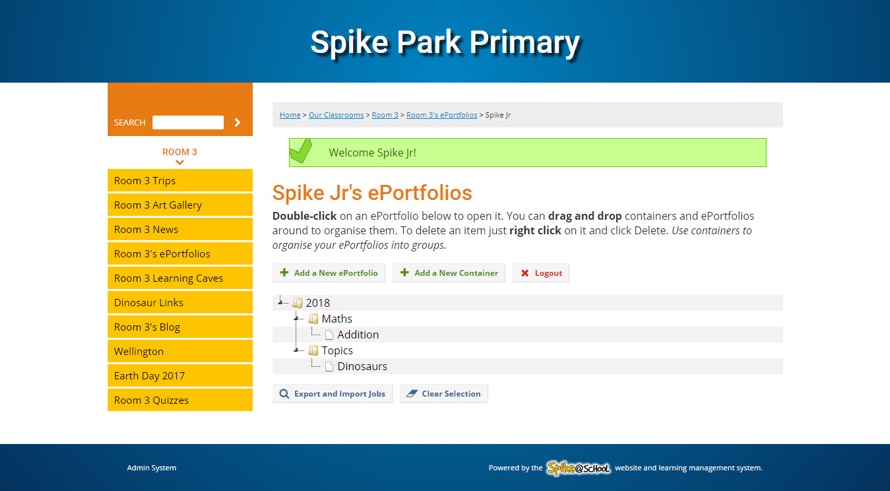
Now that we've created an ePortfolio, we can double-click on it to view it properly and add stuff to it. This is what a new ePortfolio looks like:
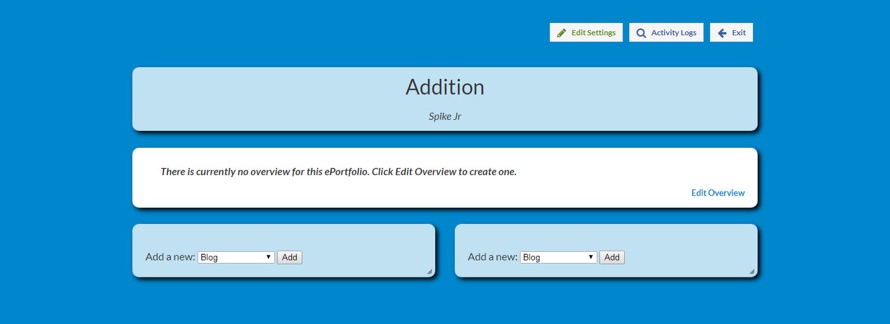
This is our blank canvas. An ePortfolio in Spike@School basically consists of the following:
- The title area
- An overview - You can see that the overview for this new ePortfolio is empty, to edit it we just need to click Edit in the bottom right corner of the Overview Area. This area works just like a Page in Spike@School. You can add images, videos and style the text the way you want.
- The left and right columns - These are empty to start with, but you can add multiple instances of any of the modules listed under ‘What's in an ePortfolio?’ to these columns.
Working with Settings
Further to these areas, there are a few Settings that Students have access to. To access these, click ‘Edit Settings’ at the top of the ePortfolio main page. You can change the background colour of the ePortfolio, and even add a background image.
As you can see below, I just changed the colour. When I save the Settings the background will be purple instead of blue. There is an easy colour picker that pops up when you click the ‘Background Colour’ box to help you choose your preferred colour.
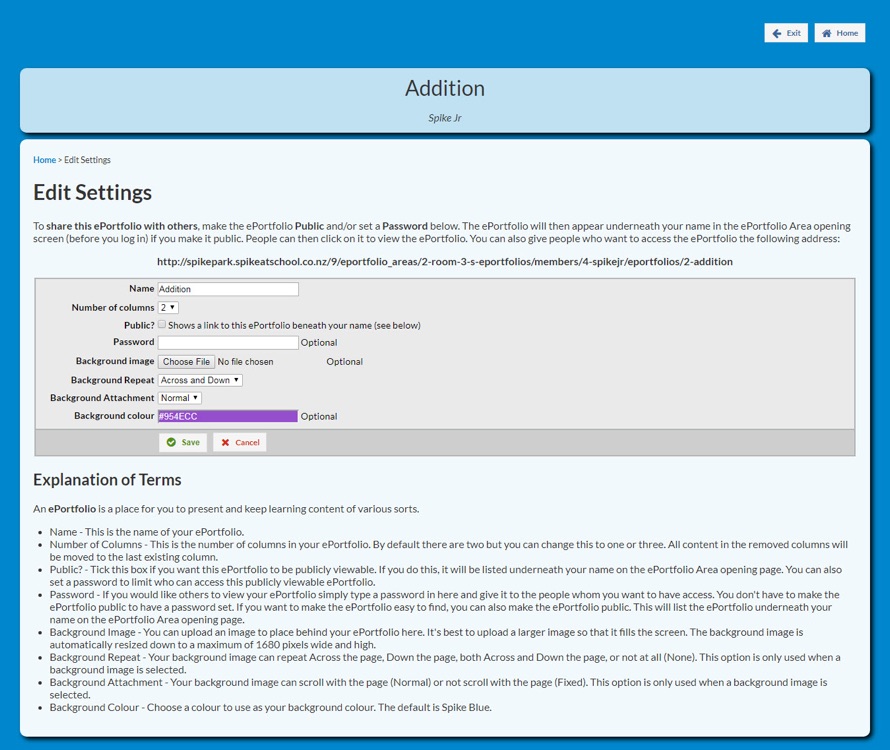
We've found that kids really enjoy customising the background colour and background image of their ePortfolios. The background image takes precedence over the background colour and will display over the top of it.
Students can also change the ‘Name’ of the ePortfolio from this screen or alter the ‘Number of Columns’ they want to work with. They can choose to make this particular ePortfolio ‘Public’ which means that it will be listed below their name on the ePortfolio Area homepage - as we can see under Spike Jr's name in the image below. A visitor will be able to click on this ePortfolio and view it without a Password - they won't be able to edit it though.
Alternatively, the student can opt to set a Password on this ePortfolio which is required to get access to view this particular ePortfolio. Setting a Password but not ticking the ‘Public’ box means that the member will have to give the URL of the ePortfolio to people that they want to share it with. Fortunately this is listed on the Edit Settings page and can simply be copied and shared. We'll see how this will work for a guest later on.
Let's save the Settings and move on to editing the Overview.
Editing your Overview
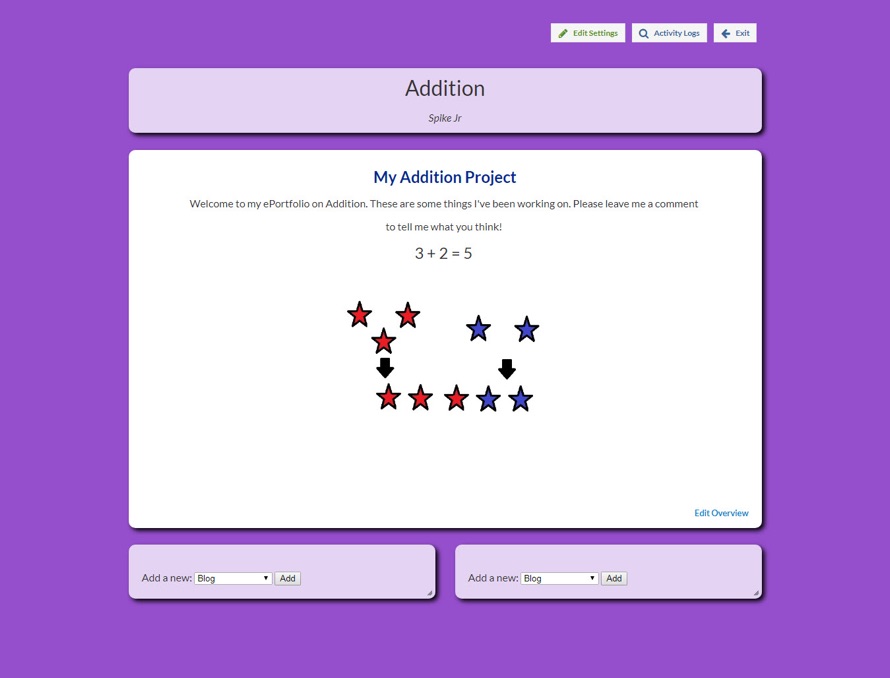
Back in your ePortfolio, if you click on ‘Edit Overview’ you can see that it's very similar to editing a Page. I've added a heading, some content and an image. Once I'm all done I'll click ‘Save’ and we can see how things are looking.

This is what it looks like in the ePortfolio. Already it's starting to look quite cool and customised. From here on in, we'll just be adding instances of modules already discussed in other parts of this site. They'll appear as snippets on the ePortfolio's home page. To avoid repetition you can read about the mechanics of these modules on their respective pages.
Building up your ePortfolio
I've added one of each type of module to the ePortfolio so you can see what the snippets look like on the page.
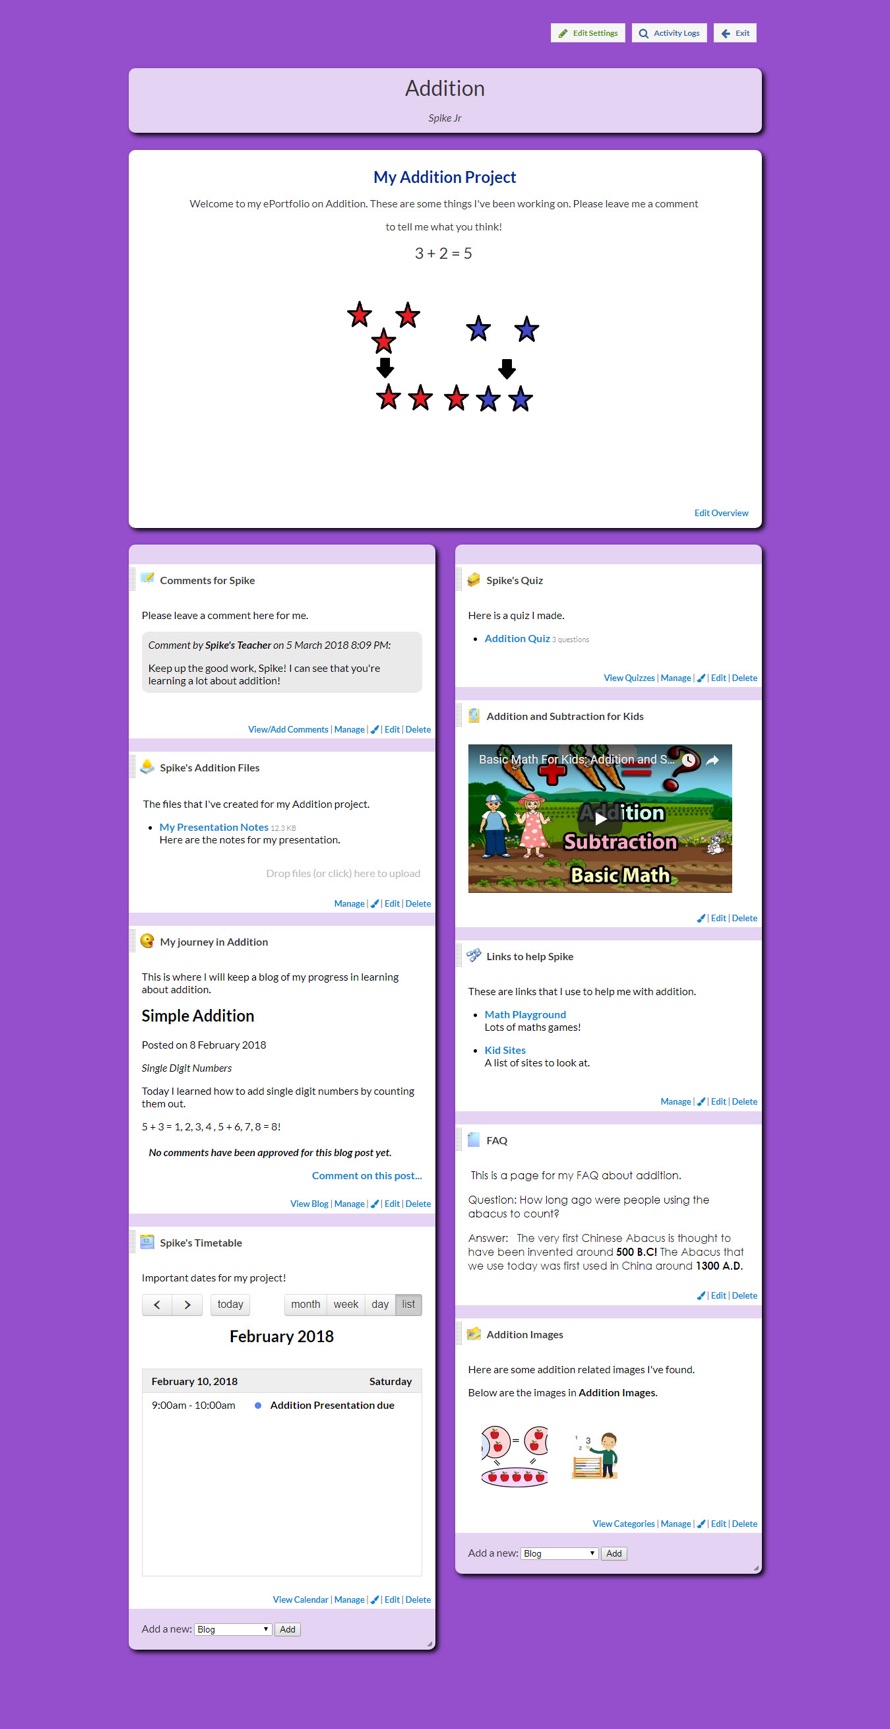
These snippets can be reordered in their Columns or dragged from one Column to the other, giving the student plenty of flexibility to arrange the content as they see fit.
The owner of the ePortfolio can manage the content in exactly the same way as you can manage, say, the content of an Image Gallery in the Construction Zone.
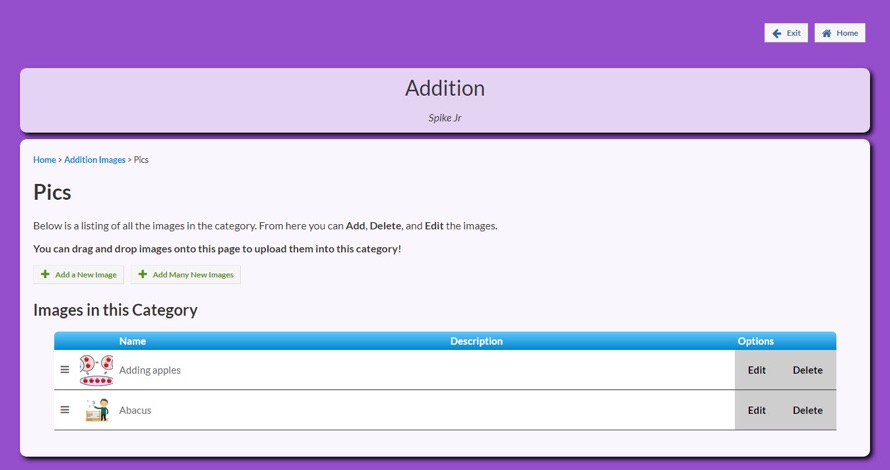
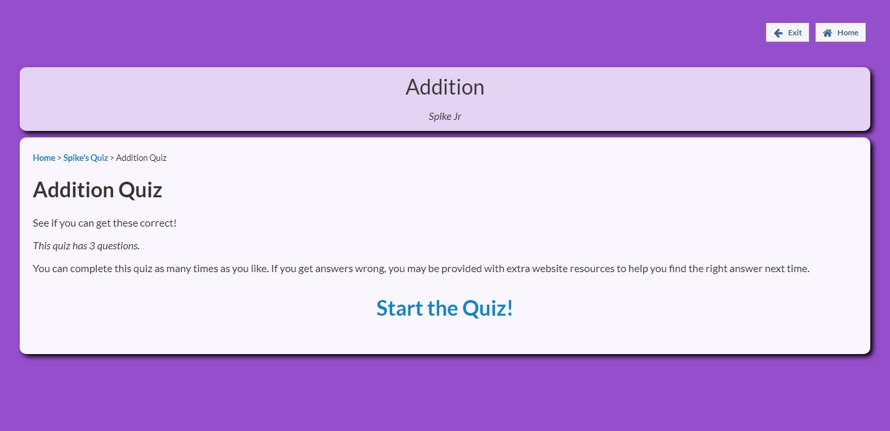
Guests to the ePortfolio can see the details of a particular module by clicking the appropriate links on that module's snippet (for example, to take a Quiz) on the ePortfolio home page.
As you can see, the ePortfolio is a very flexible tool. The student has a lot of freedom to present their information the way they want, and yet we're still able to guide them somewhat so that they spend most of their effort on the important things like generating content, rather than struggling to lay out the page.
Viewing ePortfolios as a Guest
Finally, let's see what it's like to log in as a guest. We'll exit the ePortfolio and then log out of this Member's account. We'll then paste the URL that we were ‘given’ by this student (the address found on the ‘Edit Settings’ page) into our address bar and see what happens.
As you can see below, we're now prompted for the guest access Password. Let's type it in and see what the ePortfolio looks like from the perspective of a guest.
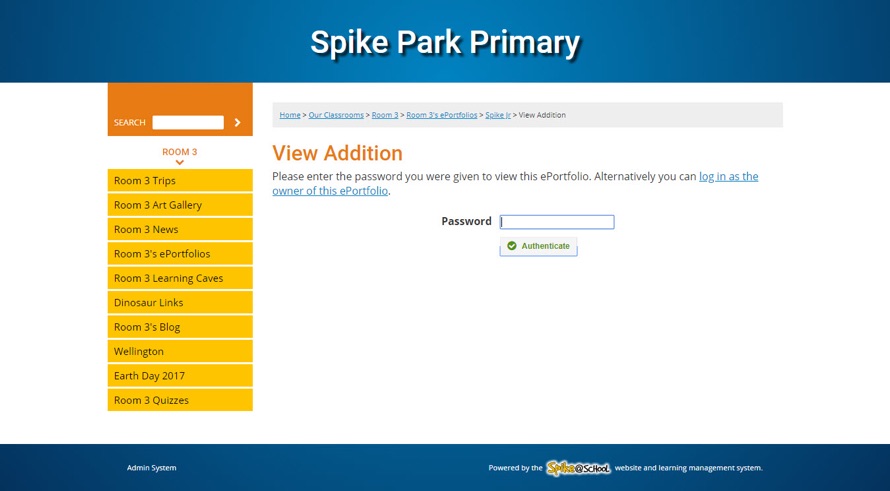
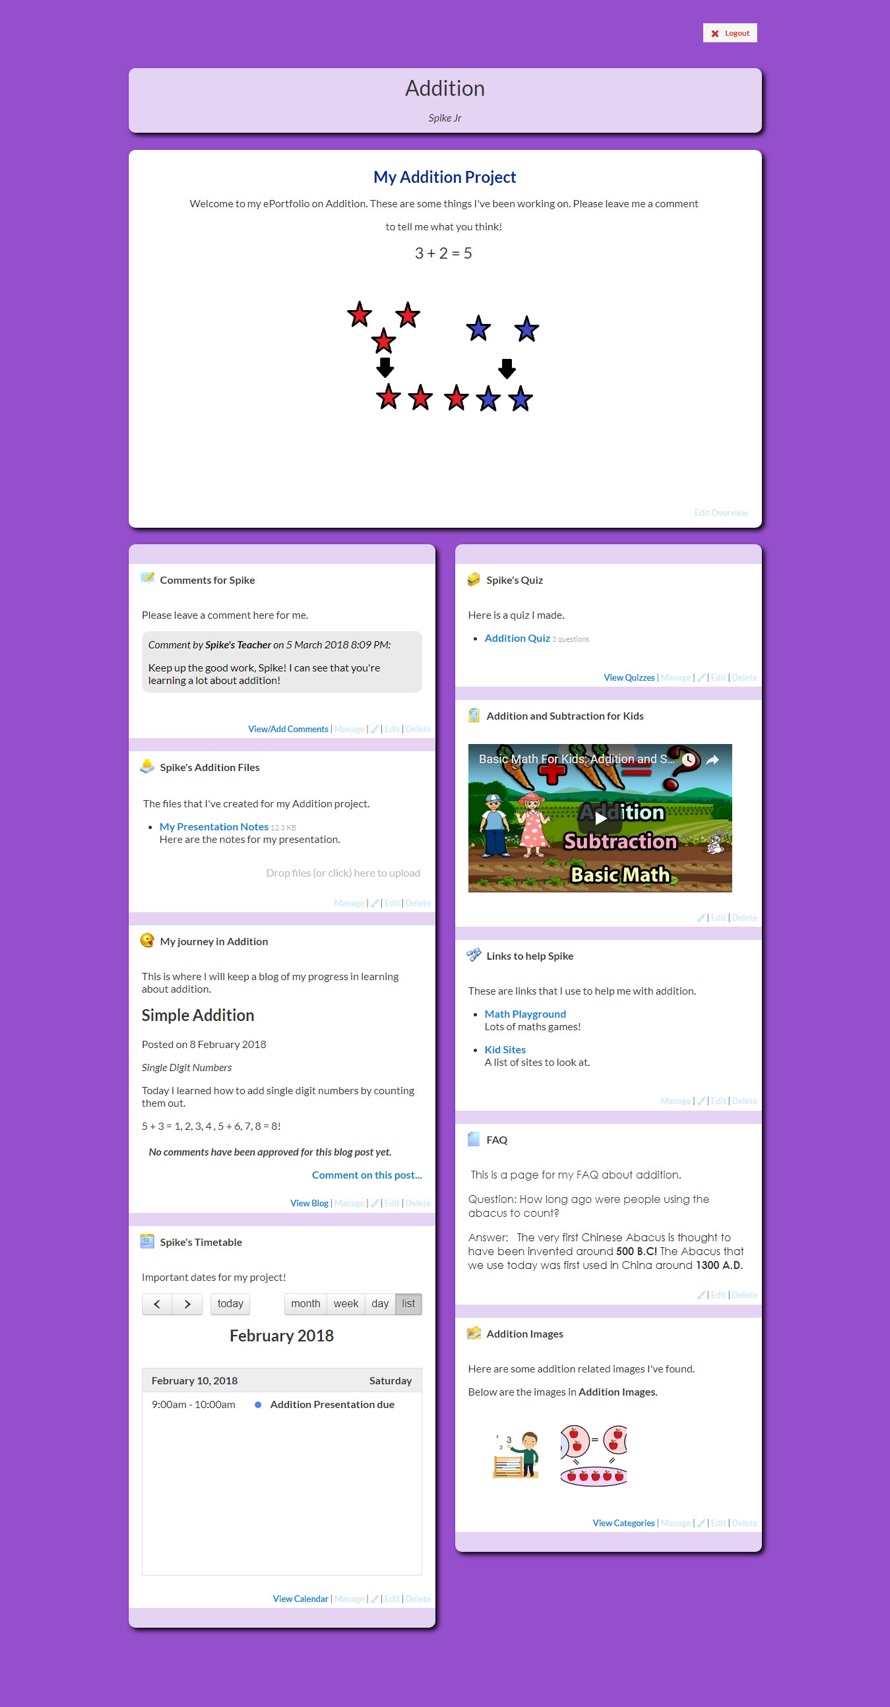
We can see an example of the guest's view on the right. You can see that all of the editing functionality has been disabled. The guest can only view the ePortfolio and interact with its public features, for example: take Quizzes, and leave Comments.
While ePortfolios are quite a complex tool, we've tried to keep it as simple as possible so that it's easy for students and teachers to pick up and use.