Learning Caves are a HUGE part of Spike@School. Often schools will buy Spike@School purely because of the Learning Caves.
If you don't know what they are: Learning Caves are Password protected group learning areas for your students which are housed on your website. A Cave has a Project Description that the students are to complete and has only one Password which you share with the group of students who will be working in the Cave. This is a unique approach that works surprisingly well!
If you're still confused, the easiest way to understand Learning Caves is just to have a go. Let's get started by selecting Learning Cave Set from the ‘Add a New’ menu:
Adding New Learning Caves
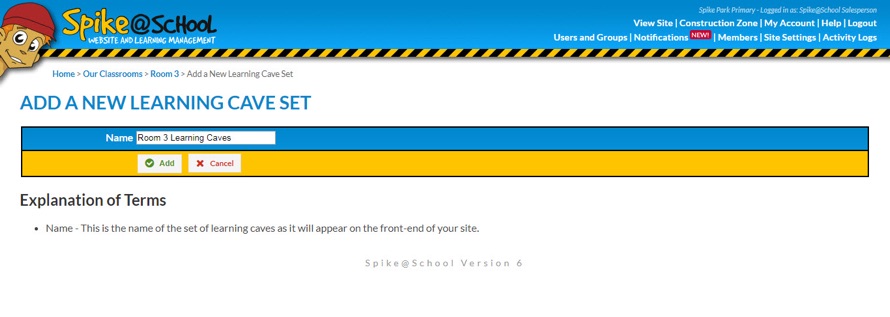
A Learning Cave Set basically just has a Name. You can have as many individual Learning Caves as you like within the Set, the Set just helps you organise things better. To add a new Cave we'll click on the Set and then click ‘Add a New Learning Cave’.
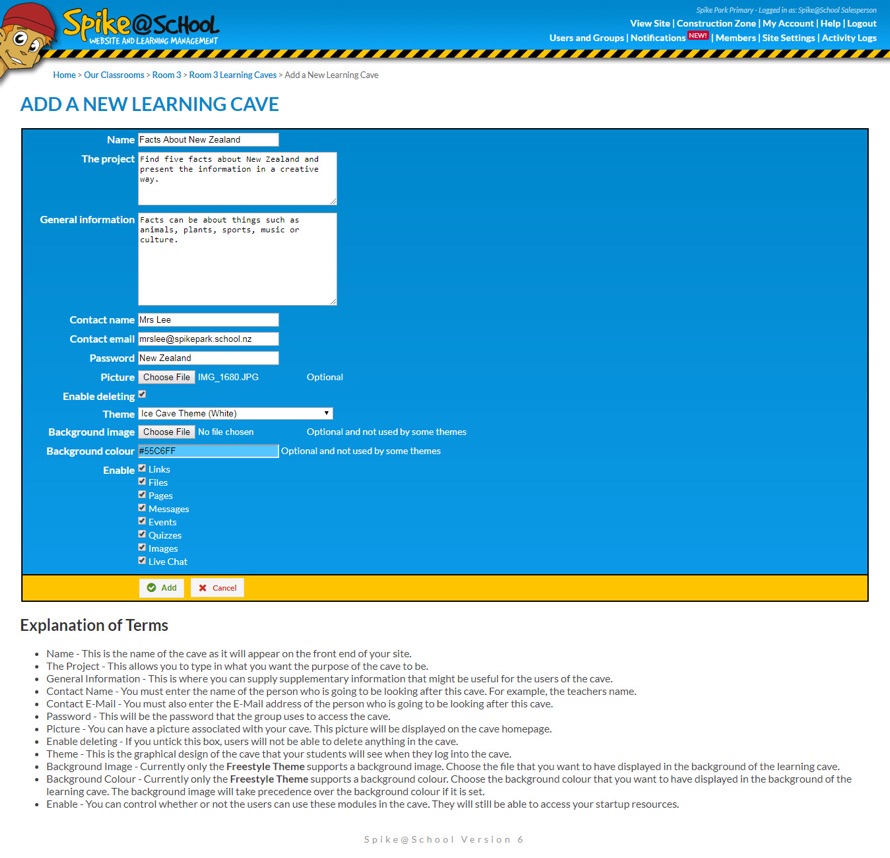
You give your Cave a Name, and enter the Project Description. You can also give your students some General Information to get them started. You then give the Name and Email Address of the person in charge of the Cave. It's also here that you enter the Password that the children will use to access the Cave. You can change any of these details later on.
To help the students differentiate between Caves you can also give the Cave a Picture. You can Enable or Disable Deleting within the Cave and select from a few different Themes which might have Background Image/Colour Settings. Finally, you can also disable any of the Cave modules which you'll find out about further down this page.
When you've added your Cave you'll be taken back to the Caves Set list.
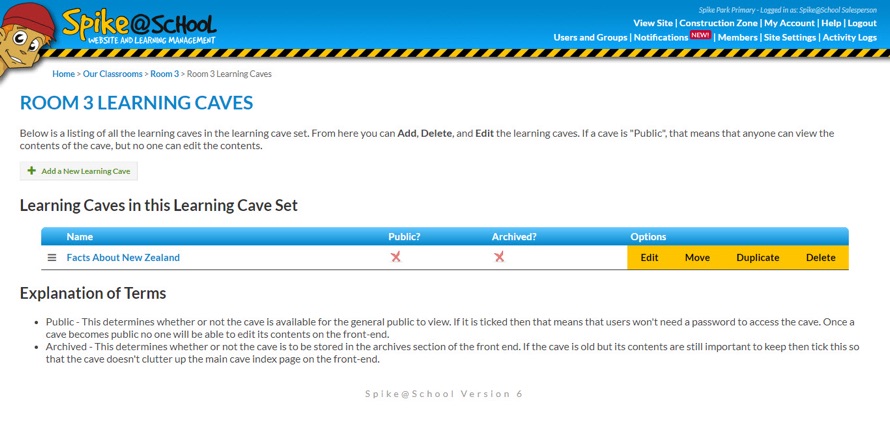
From here you can Archive old Caves (if they are really good and you want to keep them). You can also make a Cave Public which removes the Password and disables all editing of the content. This is good if you want to make the Cave available to the public so they can see what's been happening inside it.
To make your job easier, you can Duplicate an existing Cave. This is useful if you want to keep your student numbers down inside each Cave but still have them working on the same Project. You can create one Cave with all the information in it, and then Duplicate it several times, giving each one a different Password and Name.
Finally, you can Move a Cave to another Learning Cave Set elsewhere on the site, completely Delete the Cave or Edit details of the Cave.
Adding Content to Your Learning Caves
We haven't even really started with regards to setting up our Cave, we still need to add contents to it to help the students get going. To do this we'll click on the Name of our Cave. This will take you to the Cave Administration Area.

As you can see a Cave is made up of a selection of Links, Files, Pages, Messages, Events, Quizzes and Images. There is also an additional Live Chat feature. All of these features work exactly like their counterparts in the greater Spike@School system and you can learn more about them by following each of their links. The big difference in how they work in Learning Caves (apart from Messages) is that you can set them to be Startup or Normal resources.
If you choose Startup, the resource will appear on the opening page of the Learning Cave when a student logs in and they won't be able to Edit the resource (though they can use it to help them get started on the Project and in turn add their own resources - thus the term Startup). If you make it a Normal resource the students will be able to Edit the resource just as if it was one that they had made themselves. Usually you'll just make Startup resources unless you wish to participate with the students in their Area. This will all make sense in a moment.
Adding Resources to Your Learning Caves
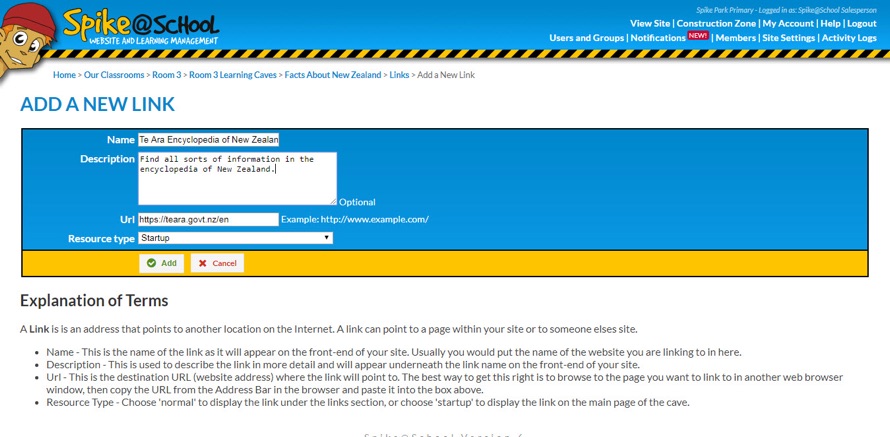
Right, let's Add some resources to the Learning Cave. First we'll Add a Link for students to use to begin their own research.
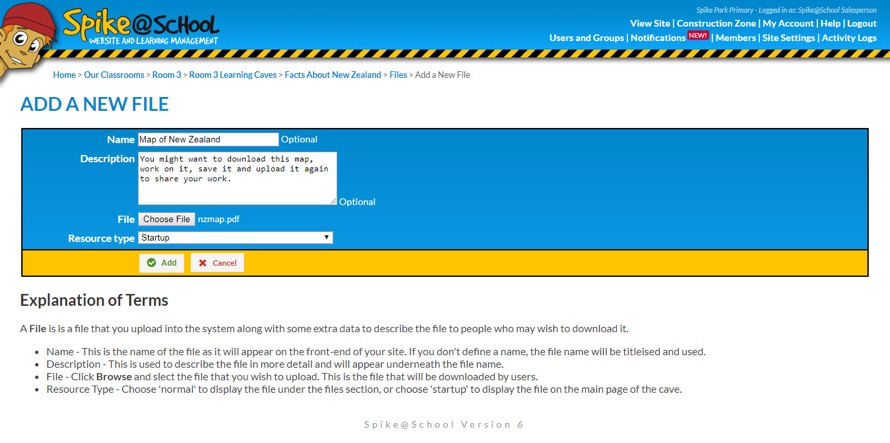
Next we'll Add a new File. This could include something that students can download to use.
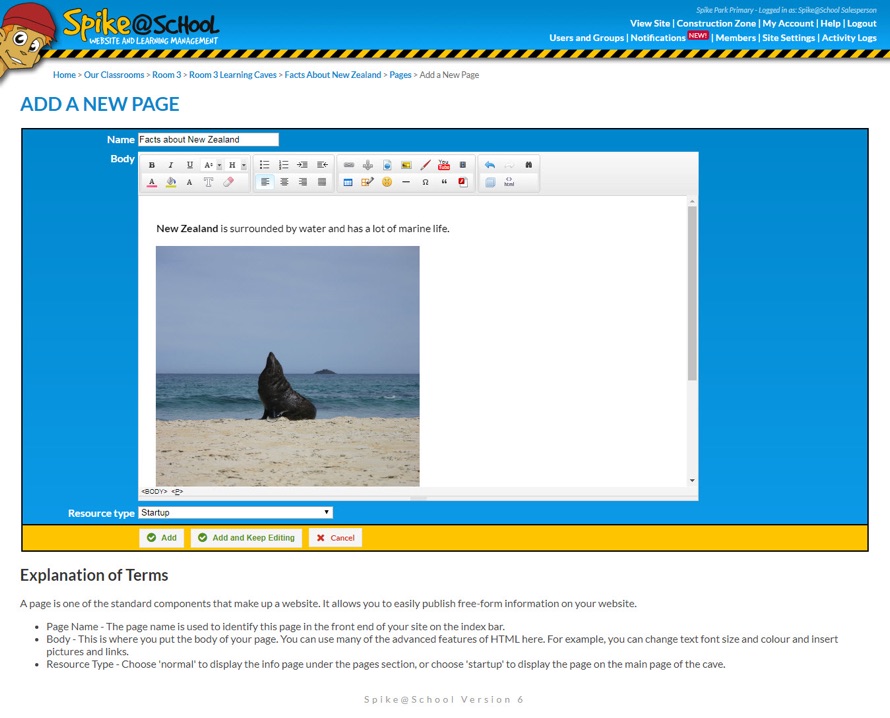
And we'll Add a Page with a little bit of information for students to start thinking about.
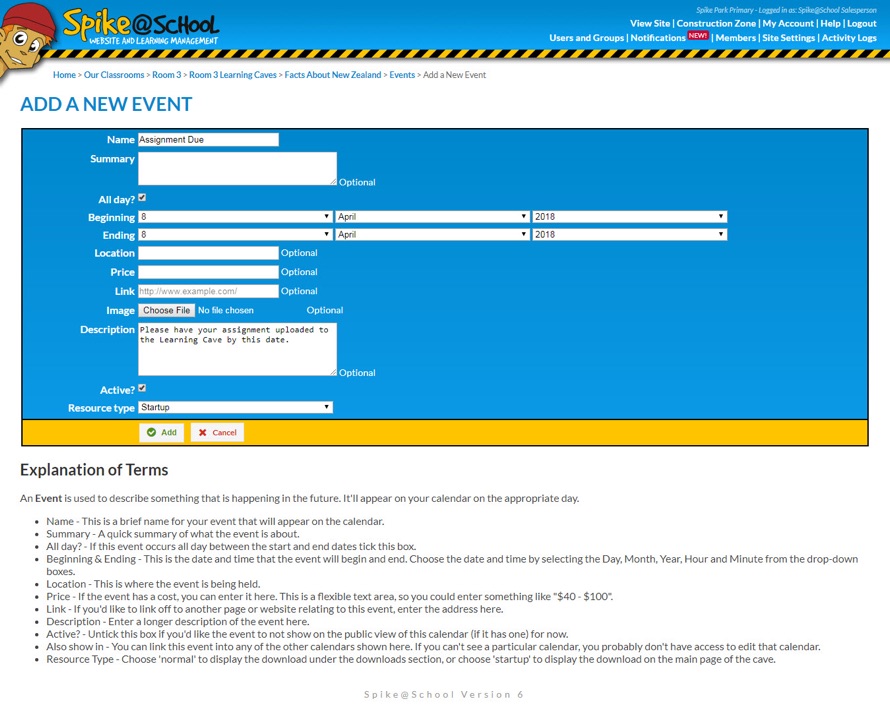
We'll also Add an Event so that students can keep track of when work is due.
Next up is a new Quiz to see how students are doing at collecting information.

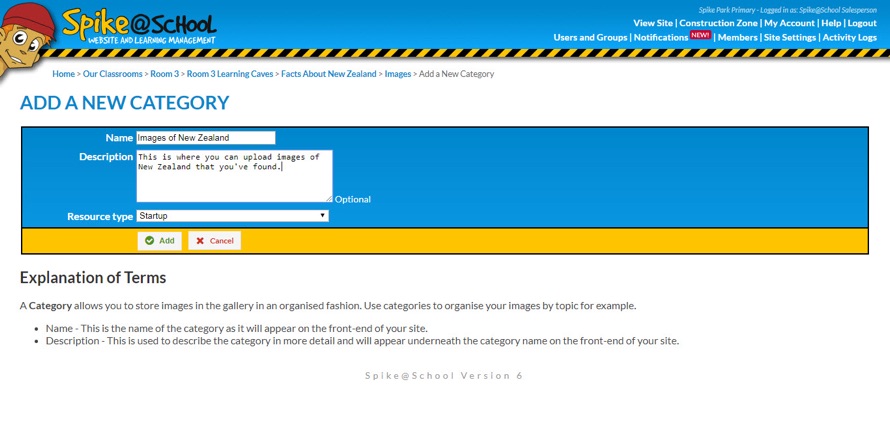
And we'll Add a new Image Gallery so that students can upload Images they find during their research.
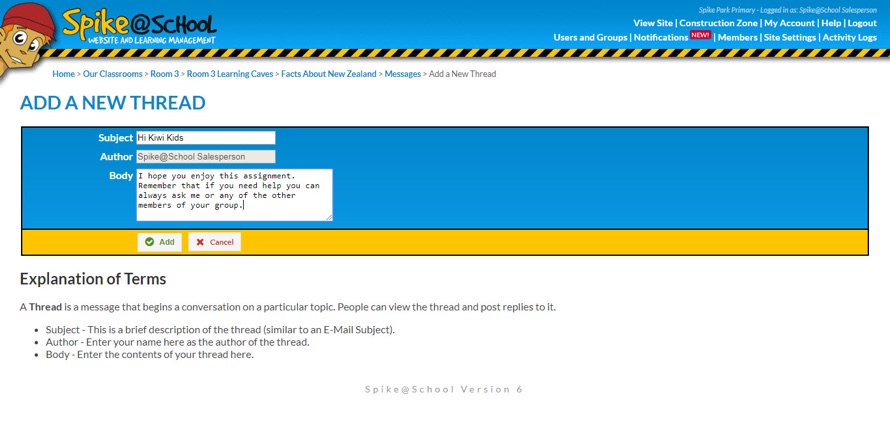
Finally we'll Add a Message. Messages are different in that they're read-only 15 minutes after they've been made (from the perspective of the students). You can still edit the Messages in the Administration side of the Learning Cave.
Viewing Your Learning Cave
Now that we've set up the Cave, if we sign out of the Construction Zone and return to view the website, we can view it as though we were a student logging in to our Learning Cave.
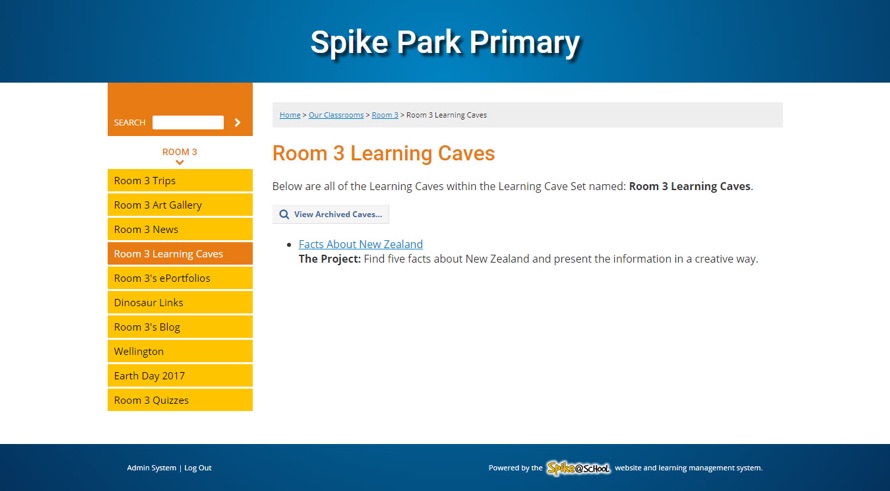
First we browse to the Learning Cave Set on the website. Our new Learning Cave is listed here. Click on it to log into the Cave.
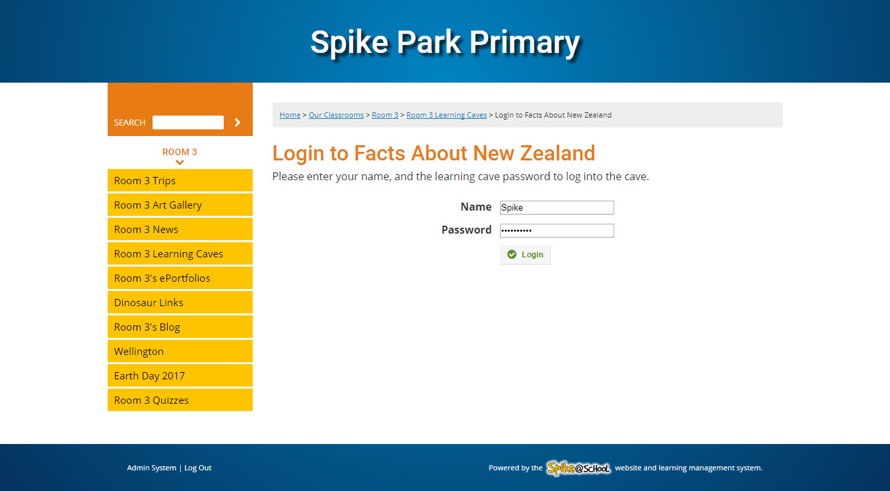
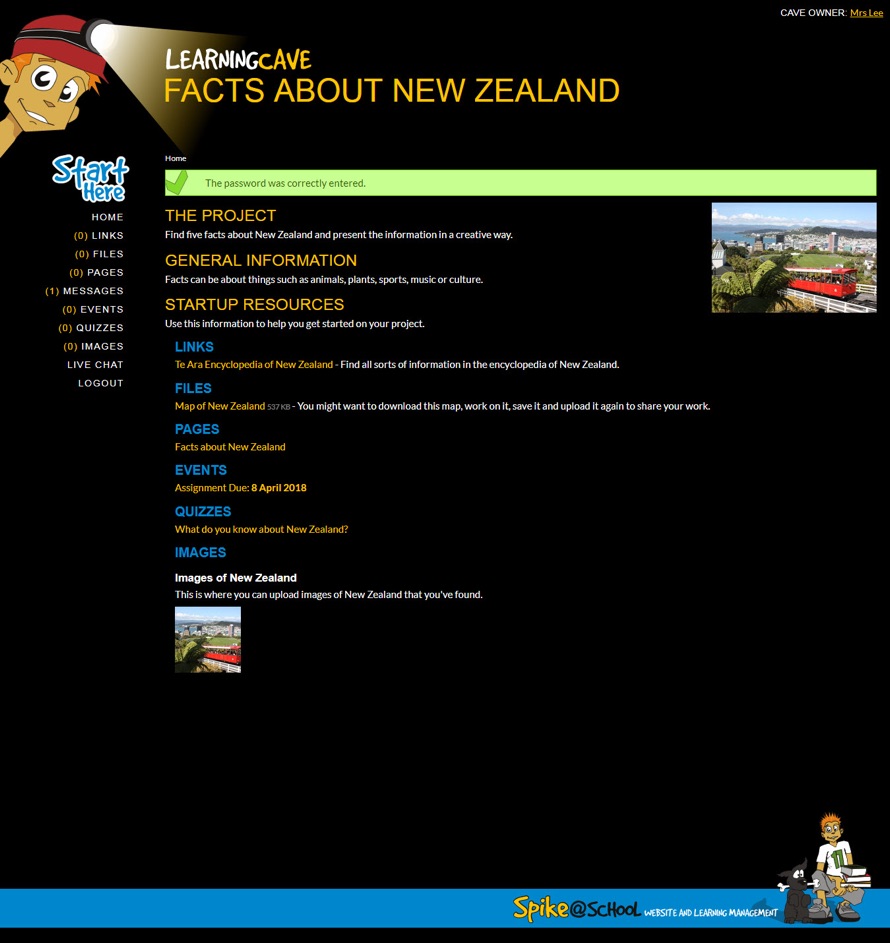
We now enter our Name and the group Password. The Name isn't checked against anything but you can tell the students that they must enter their own name. All Actions performed within the Cave are logged and their Name is recorded against each Action. With the Password entered we'll be taken to the opening screen of the Cave.
Exploring Your Learning Cave
As you can see, all of the Startup resources we added earlier are shown on the opening page and can't be edited, but can still be used. A student would use the resources and then click on the links on the left side of the page to start adding their own Links, Files, Pages, Messages, Events, Quizzes and Images.
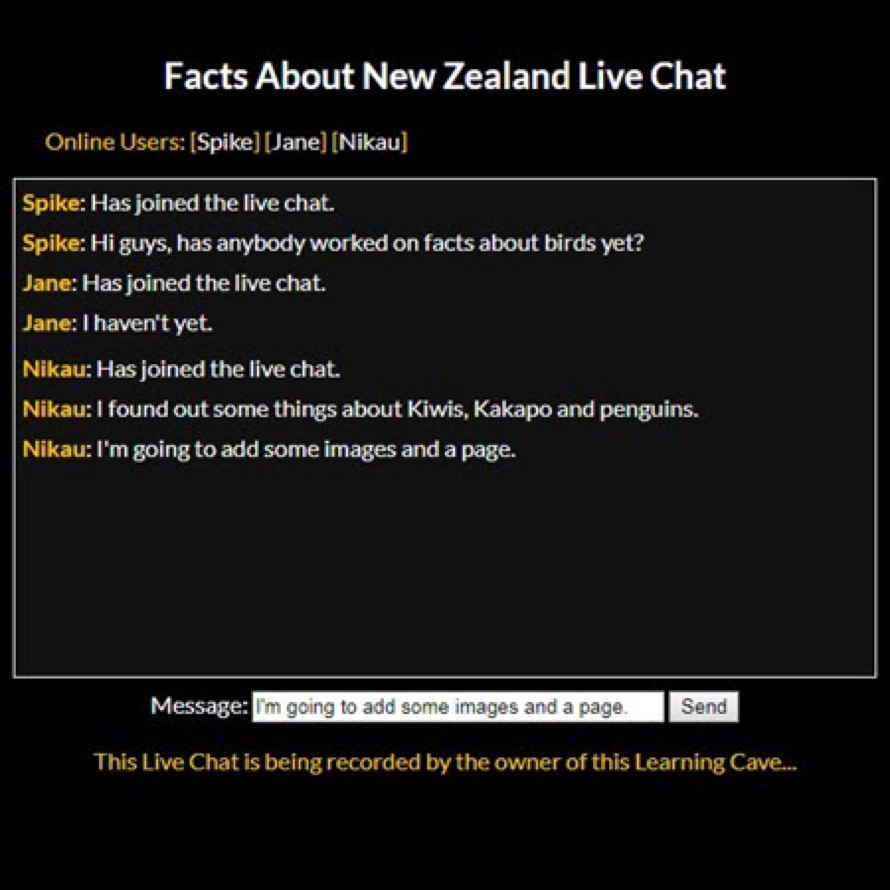
Students can also use the Live Chat feature so that they can chat to each other in real time about their Projects. You can disable this at any time.
The options for Learning Caves are endless. You could ask your students to present their findings on a Page, or upload their Project as a File for instance. There really are no hard and fast rules. Some teachers use Learning Caves as read-only tools for putting the class homework in, as a way to get started. And when students get more confident they start using the interactive features of the Caves.
Changing Learning Cave Themes
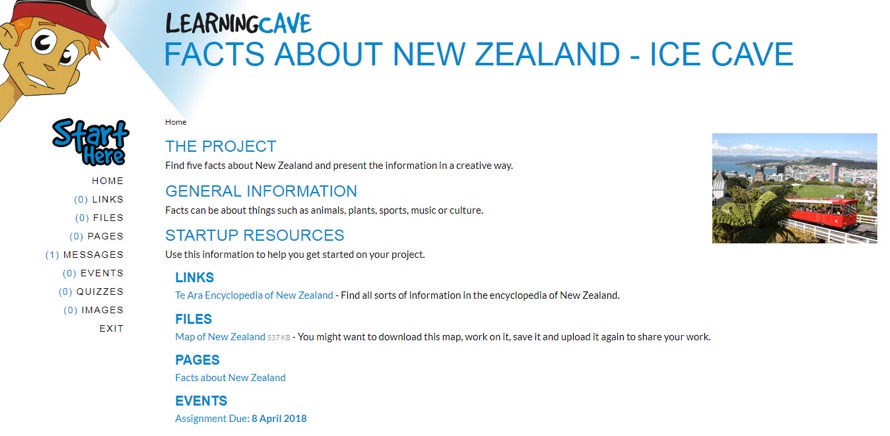
We've added two new Templates that you can use for your Learning Caves: the Ice Cave Theme and the Freestyle Cave Theme. You can choose these in the Construction Zone by selecting ‘Edit’ beside the Name of your Learning Cave and selecting a Theme from the dropdown ‘Theme’ menu. Here's the Ice Cave Theme.
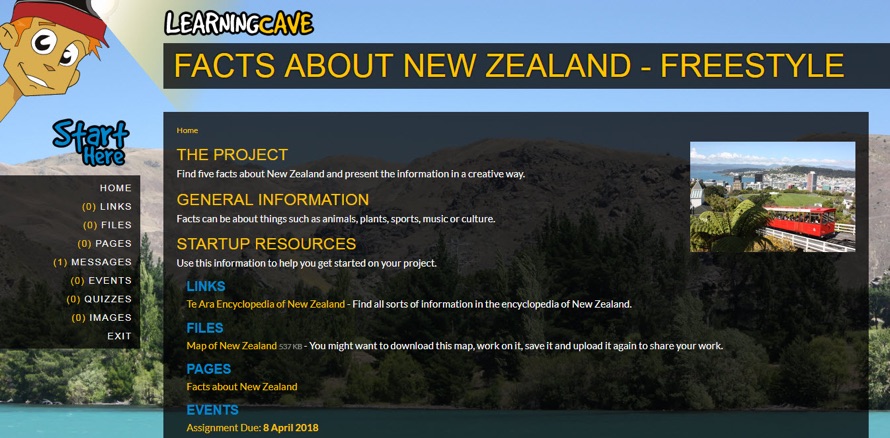
And here's the Freestyle Theme. The Freestyle Theme is especially cool because it lets you set your own Background Colour and/or upload your own Image to really personalise your Cave with an Image which is relevent to the subject of your Learning Cave Project.
Using Your Cave As A Student
As a last activity, we'll add a couple of modules to the cave as though we were a student to see how it looks from their end. As you'll see it works in much the same way as it does for a user on the Construction Zone side.
Let's try adding a student's Quiz.

And let's also try adding a student's Page.
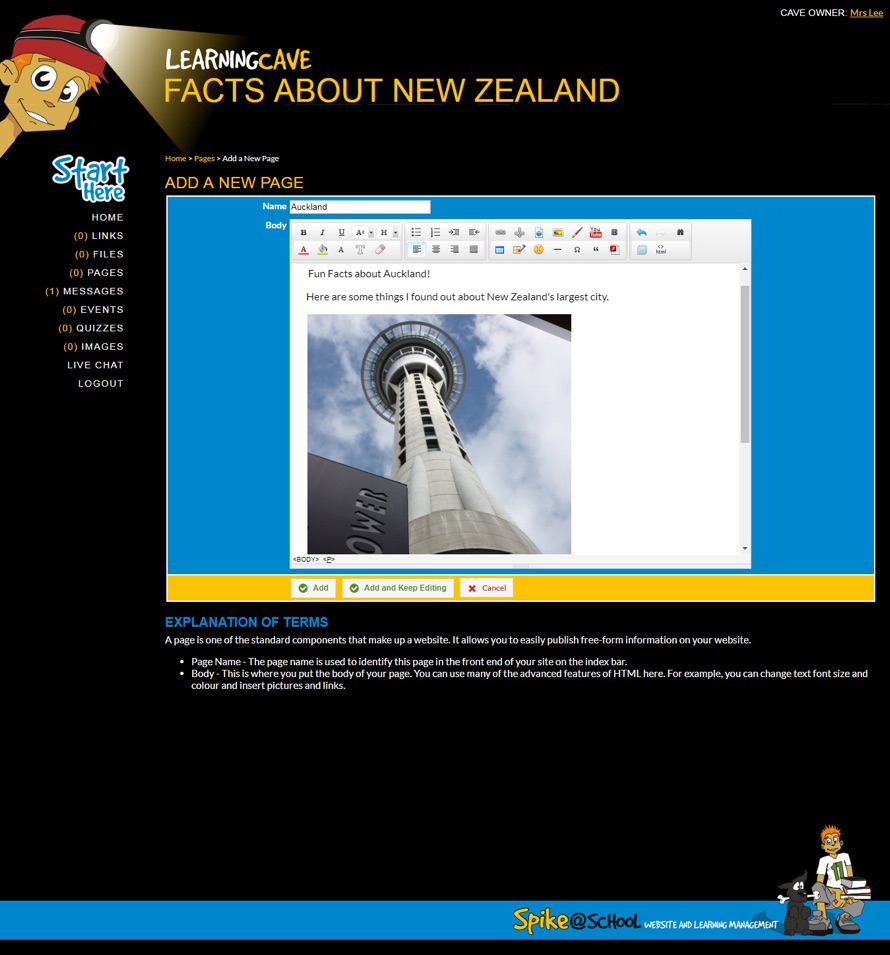
Learning Cave Activity Logs
Now lets go back to the Construction Zone side of the Cave and check out the Logs - these can help you with any troubleshooting that you need to do. In the Activity Log you can keep track of what has been added by different students.
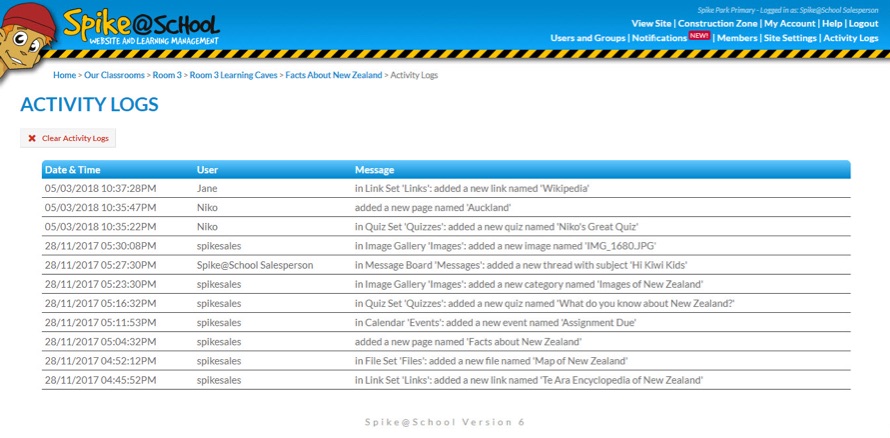
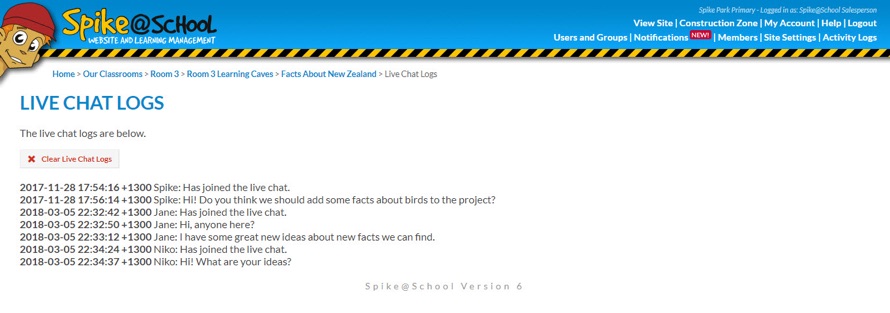
And there is also a full record kept of the Chat Log showing both the names of the users accessing it and the content of the chat.