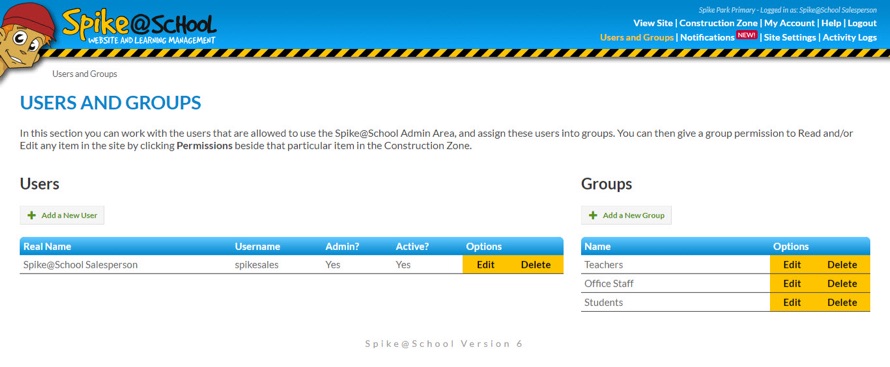
User management is easy with Spike@School. You can have as many Users as you like, and organise them into as many Groups as you like.
Groups are used to apply Permissions to items in your site which help you control access to different areas of your website.
To get to the Users and Groups page from the Construction Zone just click ‘Users and Groups’ at the top-right of the page.
Adding New Users
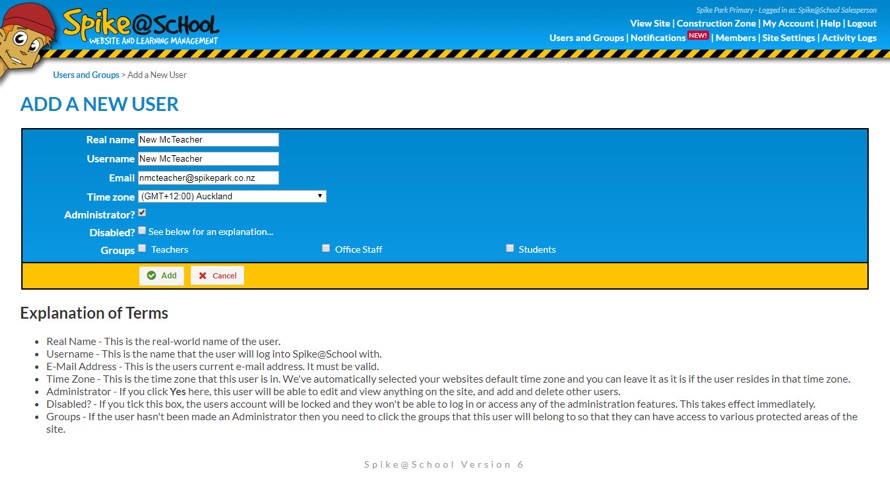
To add a new User simply click ‘Add a New User’. Here you can enter the details for your New User - you will need a valid Email Address at this point, and choose which Groups you want the User to belong to.
You can also choose whether to make them an Administrator or not. Administrators can Add, Edit and Delete Users and Groups plus view the Activity Logs and Site Settings.
The New User will receive an Email to enable them to activate their Account and start working on the website.
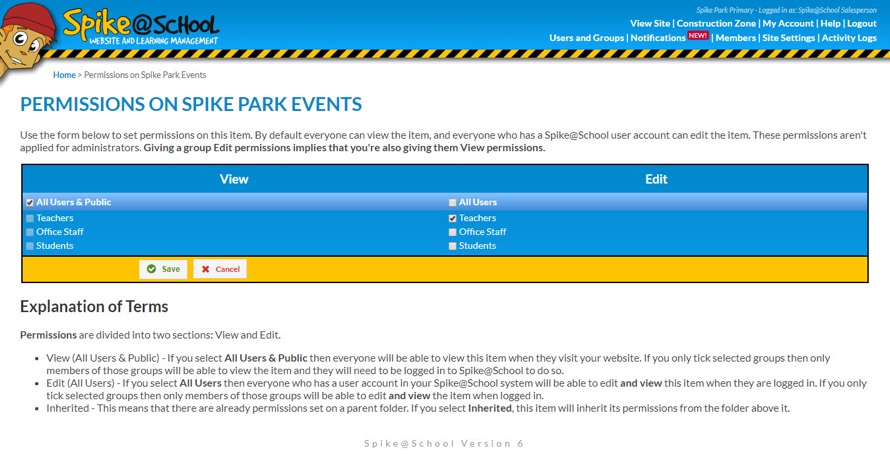
Applying Permissions
Once you've made your Users and some Groups you will be able to click the word ‘Permissions’ beside any Item in the Construction Zone and apply Permissions to it. By default everyone can see your Item, and everyone who can log into the Construction Zone can edit your Item. You can narrow that down by ticking the appropriate Groups in each column.
Another cool thing is that you can apply Permissions to a Folder and all the Items within that Folder will inherit those Permissions. That means you only have to set them once! On the flip side, if you don't want to worry about Permissions at all, you can just not have any Groups and you won't even see the ‘Permissions’ button beside any items.