An often overlooked module in Spike@School is the online Form generator. You can add as many of these Forms to your website as you like.
They basically make it really easy to create a Form on your website that people can fill out. Our schools commonly use Forms for enrolments, permission slips, surveys etc - the possibilities are endless! The results of the Form will be emailed to you, stored in a database (so you can download the results later), and optionally emailed to the person who filled out the Form.
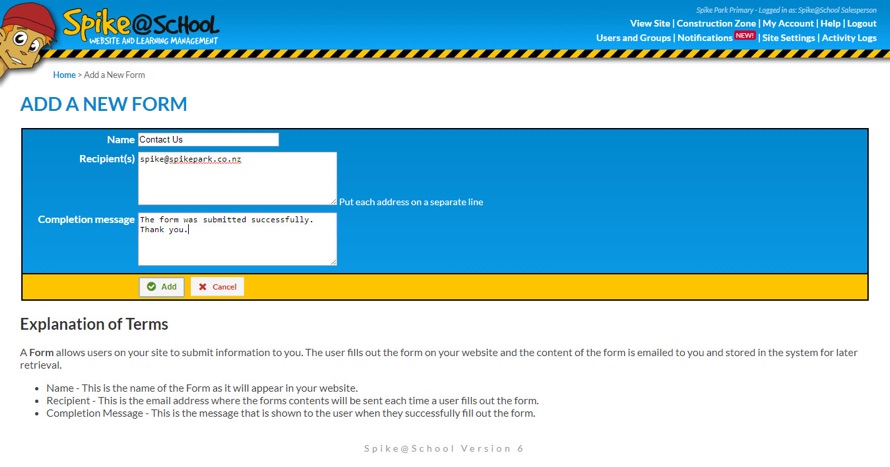
To get started select Form from the ‘Add a New’ menu in the Construction Zone. You'll get this page:
Creating a New Form
It's all pretty basic. Give the Form a Name, the Email Address that the Form results will be sent to and also the Completion Message that the user will receive when they submit the Form.
Click on the Name of your new Form and you'll be taken straight to the Form Editor. The first thing you'll want to do here is add some Fields to your Form. There's plenty of options to choose from and they're all pretty self explanatory. If you're unsure, just add an Element and see what it looks like in your Form. You can always delete it later if it's not what you want.
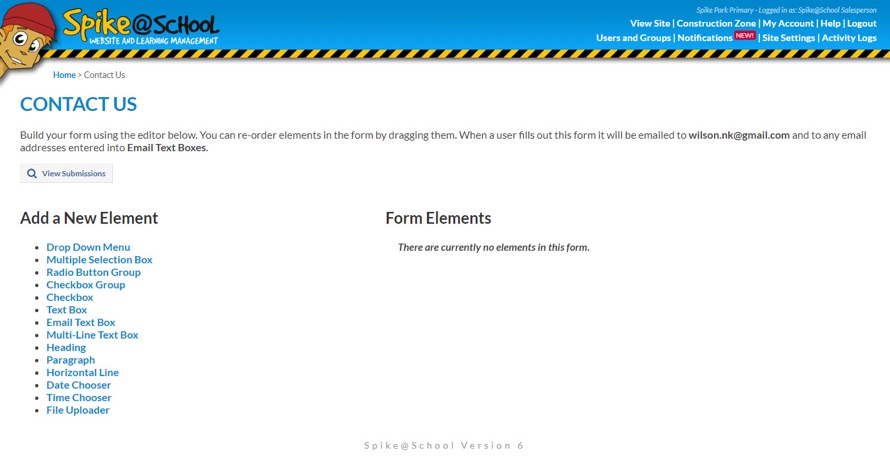
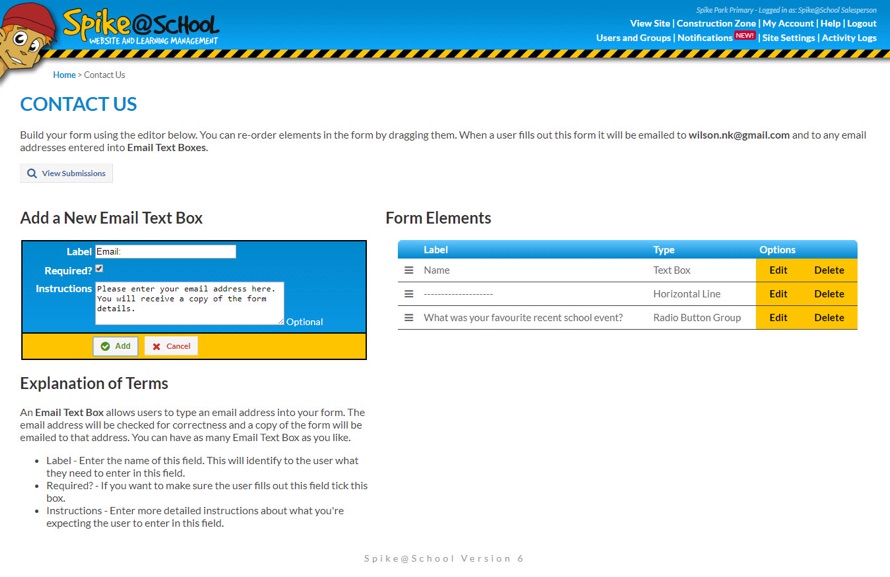
To add an Element just click on the name of the Element. You'll be presented with an input area that lets you enter the essential information about that Element.
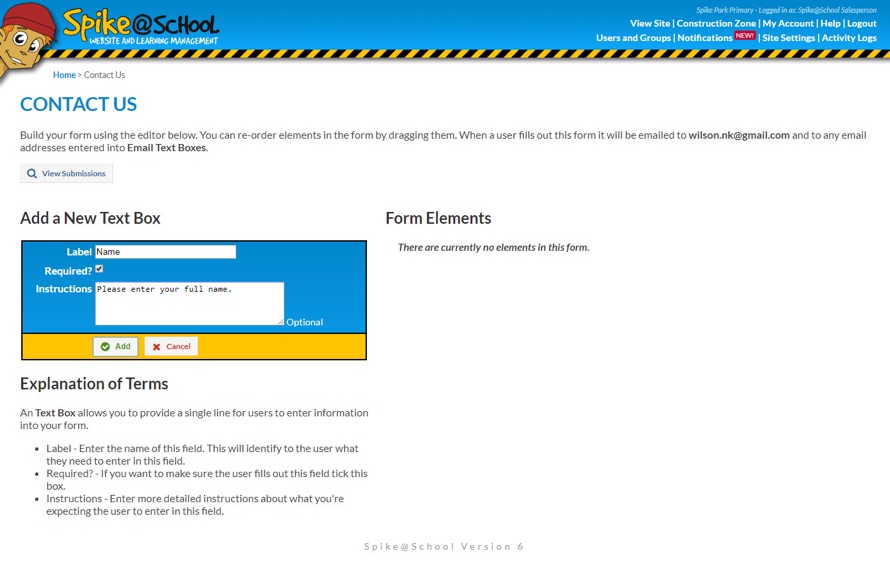
For example if you add a Text Box you'll need to give it a Name and provide some extra information to help the user understand what the Field is for. You can also optionally specify if it is a mandatory Field that needs to be filled out by the user for the Form to submit successfully.
Working with Elements
If you use a Form Element such as Checkbox Groups or Radio Button Groups you’ll need to enter a list of options for a user to select from. In this case you need to put each valid choice on a separate line in the box.

One last very special Form Element is the Email Text Box. If you add one of these to the Form and give it an appropriate name like ‘Email:’, the people who fill out the Form can enter their email address into it (Spike@School will ensure the email address is valid) and then, if the Form submits successfully, they'll receive a copy of their Form data in an email.
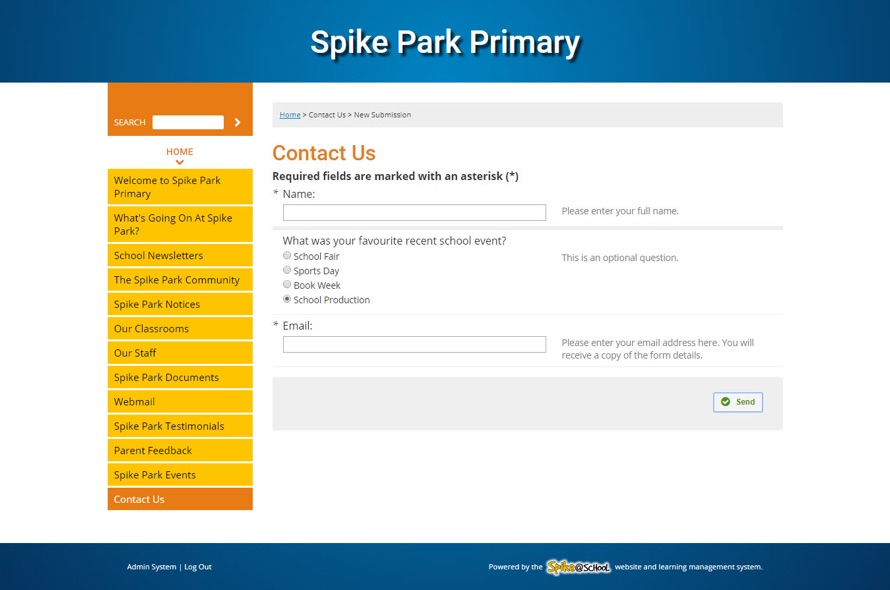
Using your Form on the Website
Now, let’s take a look at the Form on the website. As you can see Spike@School has assembled all of the Elements of the Form and presented them in an easy to understand manner. The user just has to fill out the Form and click ‘Send’.
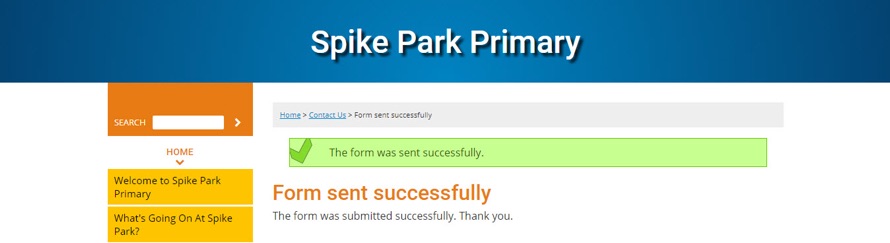
The user will see this success message - this is the Completion Message that we entered back when we first added the new Form.
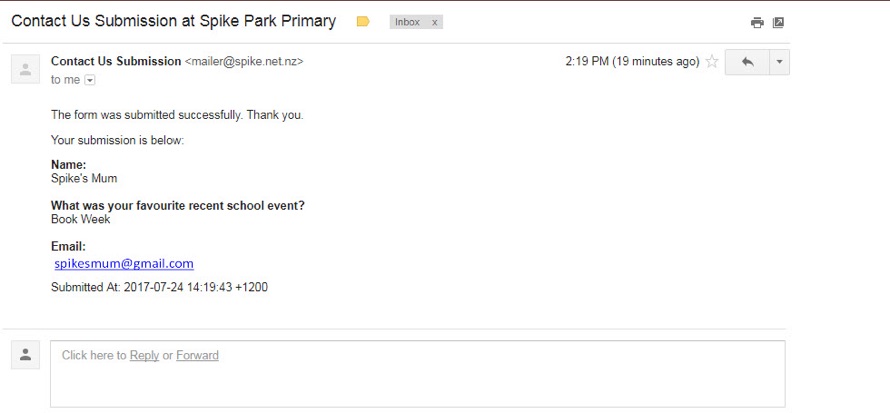
You'll receive an email like this:
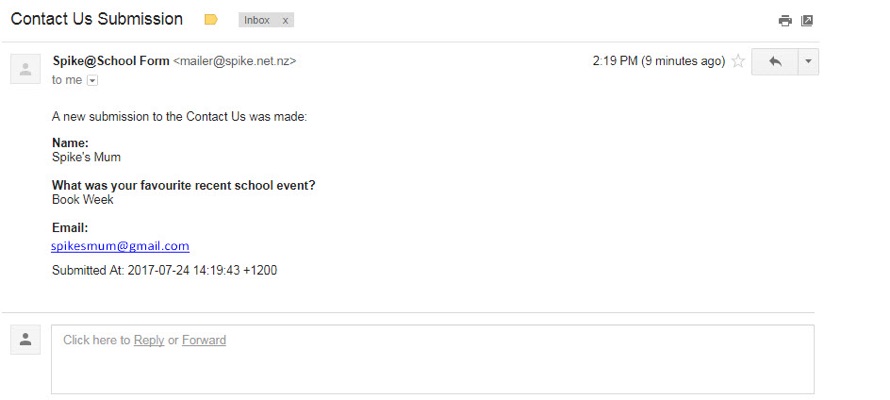
And the user (if you used an Email Text Box) will receive a similar email like this:
Using your Form Data
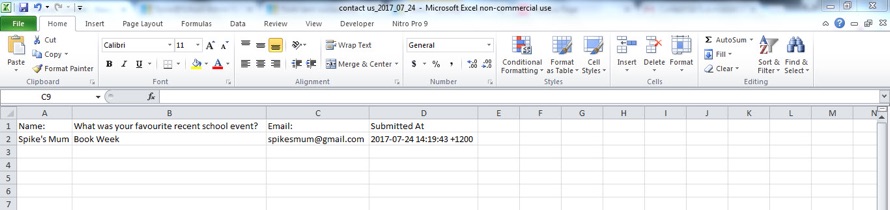
If you return to the Form Editor in the Construction Zone and click ‘View Submissions’, Spike@School will show you a table with all of the Submissions on it.
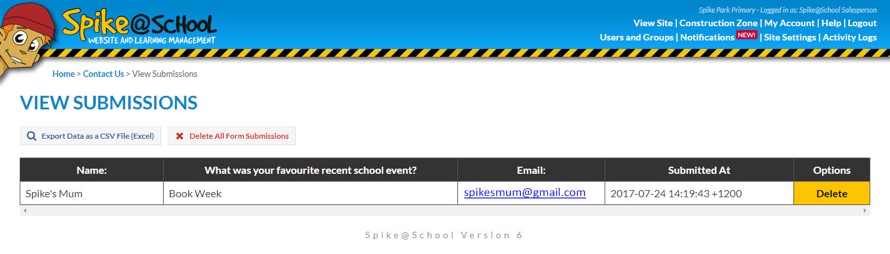
You can also click ‘Export Data as a CSV File (Excel)’ and then view the Form Submissions in Excel or any other programme that can read CSV files.